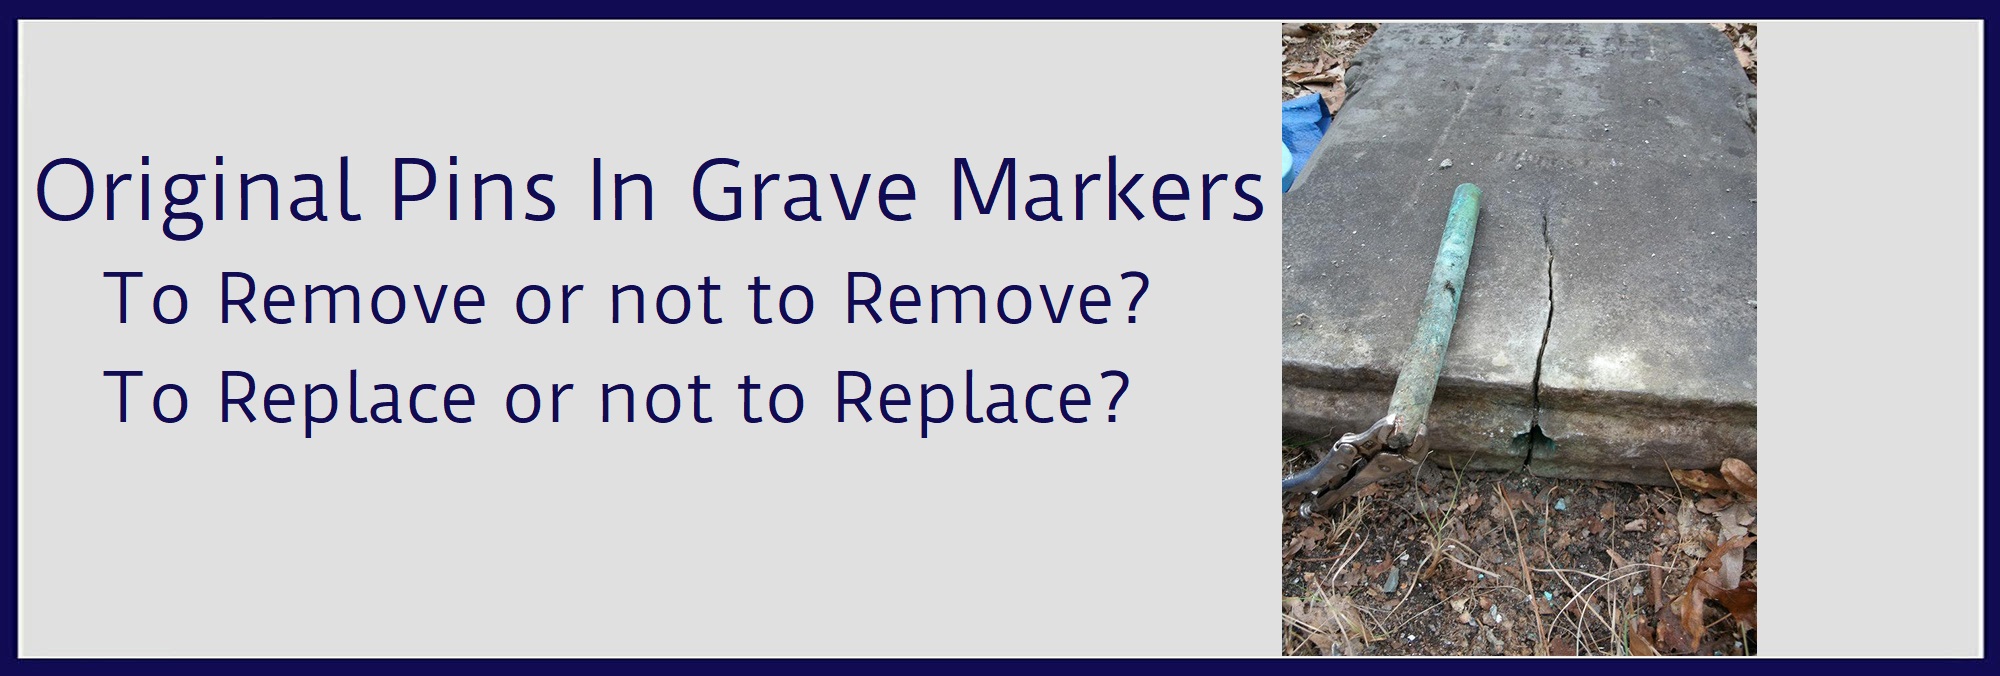
It is quite common to find an array of many different sizes and types of pins in many older grave markers and monuments. They can be made of Iron, lead, brass, bronze, copper, etc. You may also find pins with sleeves made from lead, bronze, brass, and copper, often surrounding iron pins. Pins served 2 main purposes. 1…to act as guides when stacking together or attaching 2 or more pieces of stone. 2…to act as a part of the grave markers structural integrity to keep it standing and together.
The following is a tutorial that presents several options concerning existing grave marker pins.
By CCUS members Lloyd Collins, Mark Morton, and Kelly Jean
Several problems arise when encountering old original pins during repairs and restorations. Most common of these is “blow-out”. This is when either freeze and thaw cycles have caused trapped frozen water in and around a pin, and through expansion, it cracks the stone. Or, it may also occur through expansion of iron pins as hey rust naturally. The damage caused can range from small cracks to breaking off large chunks from the bottom of the stone piece. In some cases repairs may call for trimming down the damaged part of the stone enough to start with a clean edge. All depending on the severity of the damage and the age of the break.
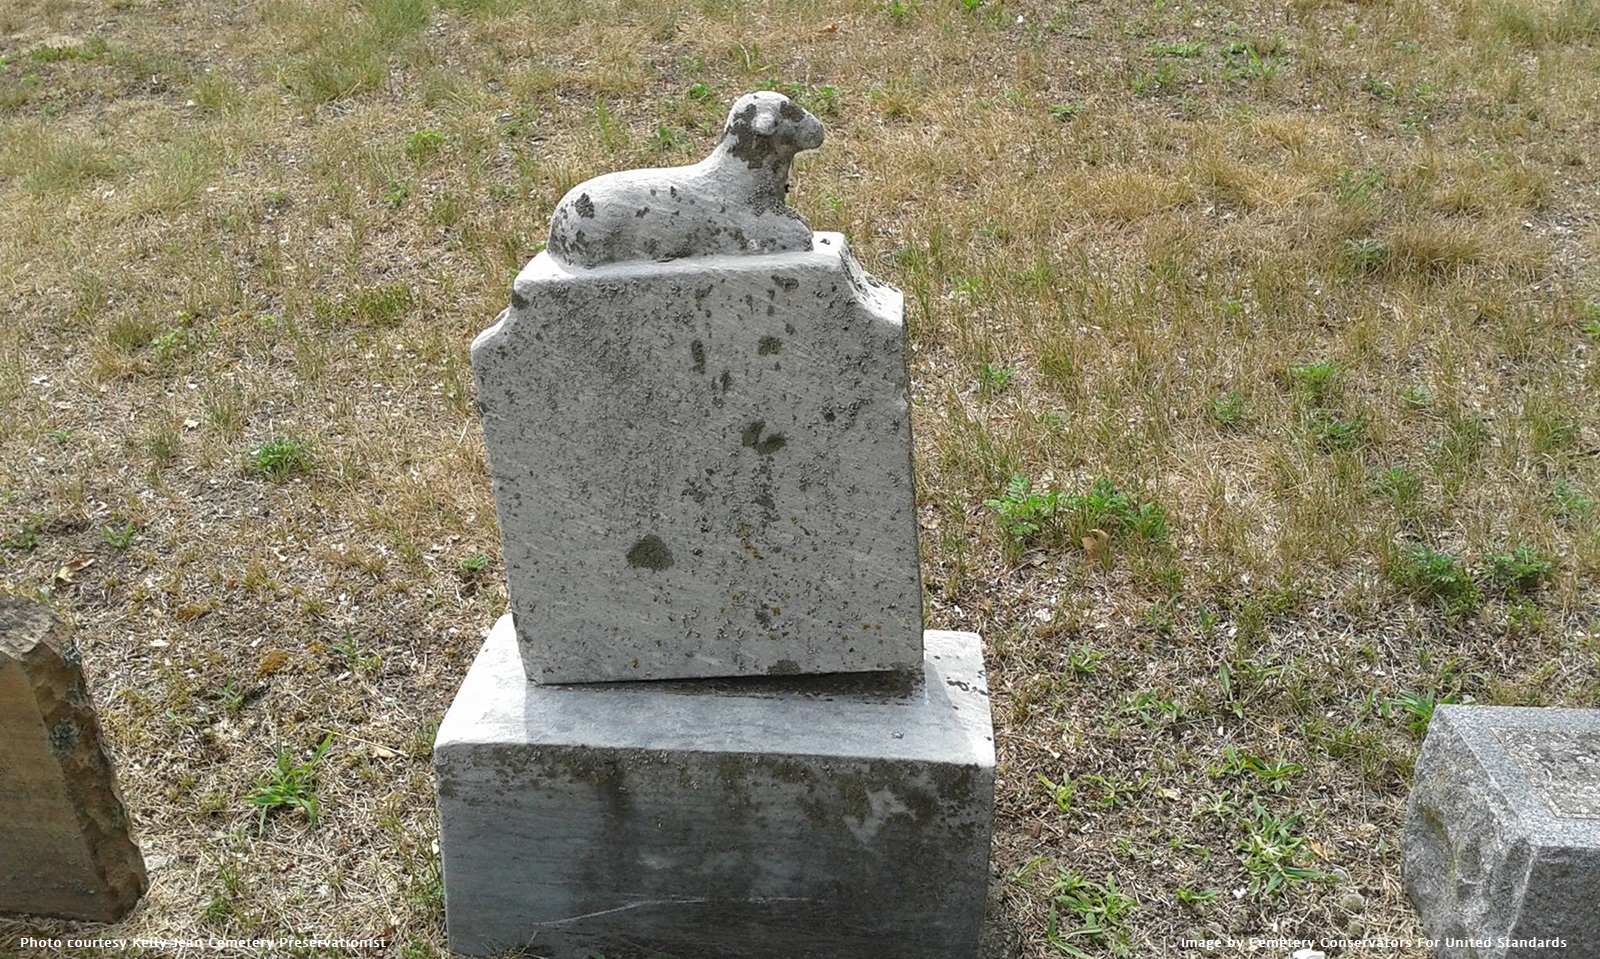
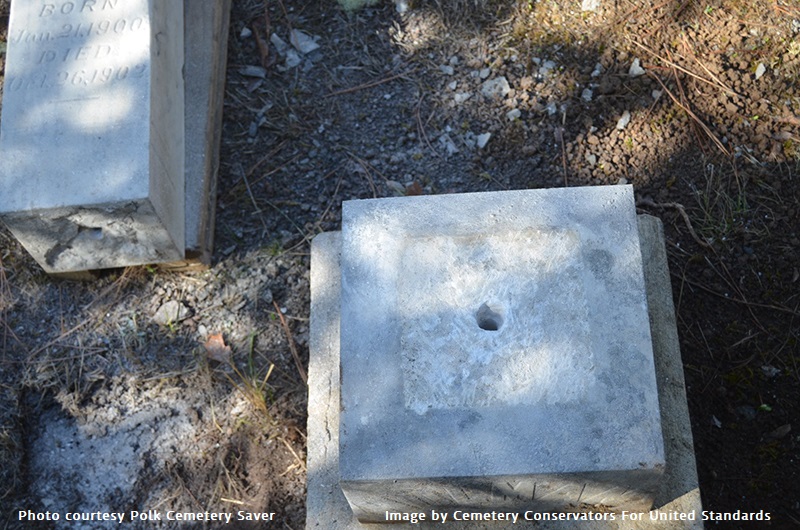
Above is an example of a small 2 piece grave marker with 1 center pin that has lifted up and now rocks due to freeze and thaw, dirt, and excess material gathering in the original drilled holes.
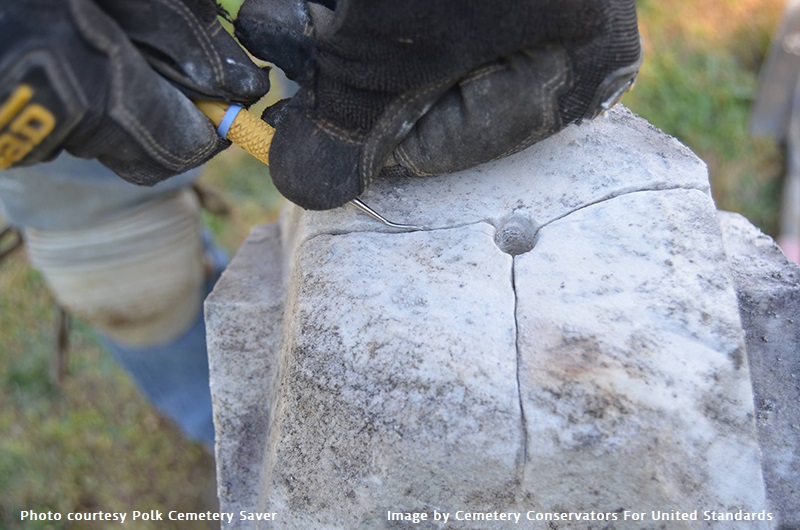
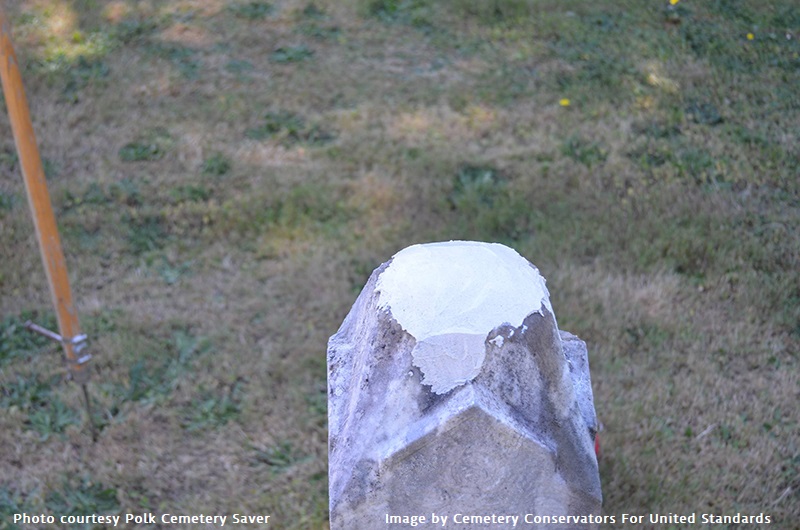
Regardless of the following method you choose, depending on your situation, one thing is clear. The mating areas between the stone pieces must be cleaned of all dirt, loose material, or previous repair materials. Clean surfaces are a must for repair work to ensure bonds and stability. Below are 2 pictures of the same monument with damage caused by pin expansion. 1 shows the cleaning and prep work, and the other shows the mortar repair work, before access mortar was removed, and after.
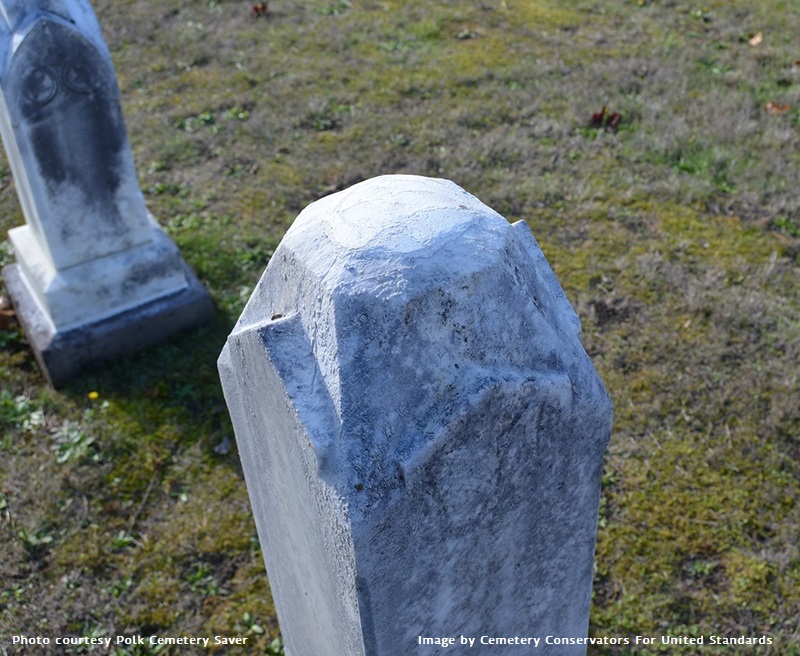
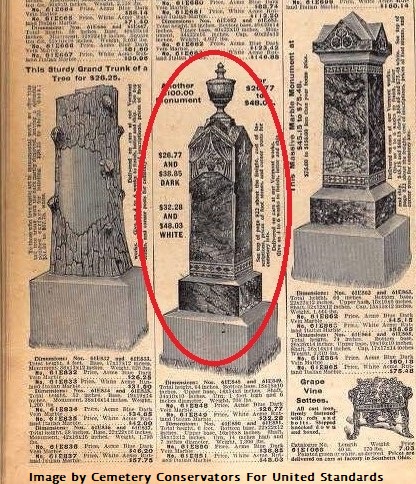
The repair process for the monument pictured above is fairly straight forward and very common among conservators. Quite often pins are very loose to remove or sometimes missing all together. This is the top of a marble monument that had a small stone urn as a topper, much like the Sears and Roebuck model below.
This repair option starts with cleaning and prepping the cracked area, and applying a lime mortar mix, Lithomex, or other appropriate mortar. Most of our conservators prefer an NHL 3.5 mortar or the Lithomex appropriate color matched mortar. This will provide a nice bond in the cracks and pin hole to keep access water out and will not interfere with natural water travel known as “wicking” This procedure eliminates the old pin or adding a new pin all together. It is ideal when the urn is missing, as is often the case. If the urn is there and intact, you again have a couple of options. Most conservators either reattach it with a couple of dabs of appropriate epoxy, or use the lime mortar or Lithomex to adhere it. Using the epoxy makes for the strongest and longer lasting bond, but don’t forget to work some infill around the edges of where the urn meets the stone. This keeps out excess water and dirt and leaves a clean aesthetic look. And of course you have the option to re-pin with an appropriate pin material and pin size. Some conservators prefer this method for reasons of originality, durability, and in an effort to make it more vandalism proof.
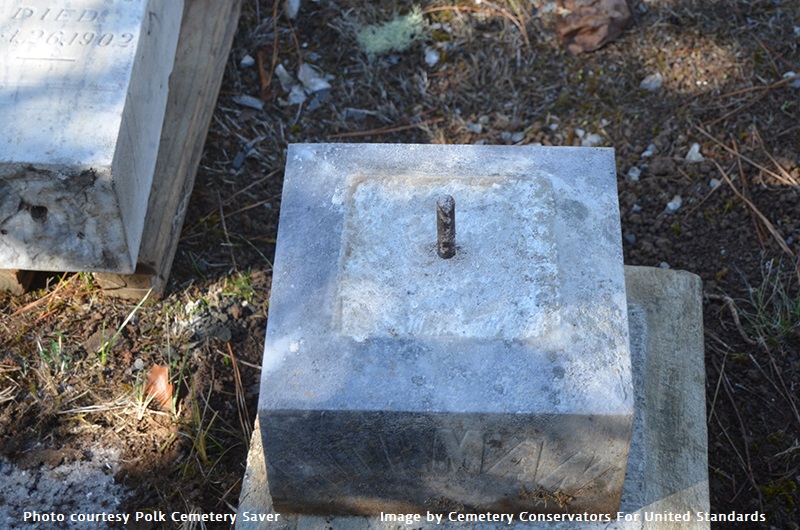
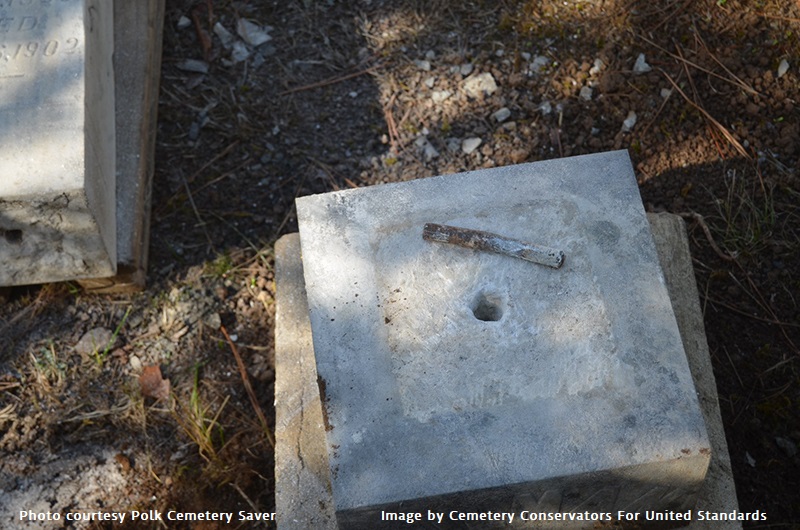
The pictures above show an iron pin before and after it is loose enough to remove.
Pin removal when the pin is tightly fixed in the stone can be difficult and may cause damage if not remove carefully. You may want to contact a professional conservator at this point if things become too difficult. If you are feeling confident and have a good working knowledge of tools and understand something about stone and stone working, you may be able to remove the pin as directed below.
One of our conservators removes them the following way as in the 2 pictures above and below. Begin by drilling five holes at 5/32 diameter, around the pin. The holes have to be as deep as the pin is long. (usually 2 to 2 1/2 inches deep) If the pins are in granite you will use several masonry bits. Usually with marble, one or two bits is enough. After the holes are drilled, continue to drill at an angle to break the sections that still adhered to the pin. Then use a pair of vice grips and twist the pin. It usually comes out without a problem. You may choose to replace the original iron pin with a number of types of replacement pin material. This conservator prefers a fiberglass rod type, because since it is fiberglass, it will usually break if the stone topples again and it will not rust.
Stainless steel, fiberglass, or twisted fiber pins are the most used by conservators. As other material for pin construction becomes available, we will add it to this list of options. Practically all of our conservators concur that all iron pins should be removed if at all possible. Because over time they will simply rust and apply pressure to the stone, and in time cause damage
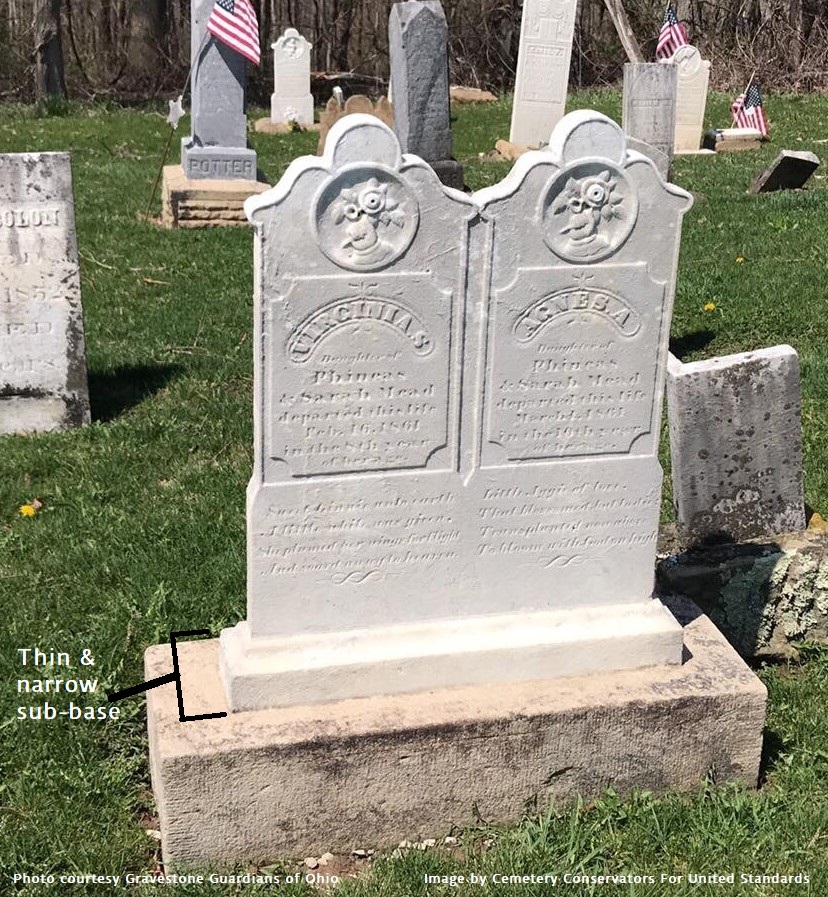
The grave marker pictured below, is a good example of one that due to its design, required pins to be replace and used in its preservation.
This sub-base was very thin and narrow for supporting this wide tall marble tablet. It has 4 small pins equally spaced connecting the tablet to the sub-base. In this case, the local quarry stone base is a good sturdy match. There were no pins joining the sub-base to the base. This conservator used a few well-placed dabs of epoxy between them, and used a mortar joint of Lithomex around their edges. The same procedure was used with tablet to sub-base.
Coming soon…we will be adding a selection of new pins and pin materials to our CCUS section under PRODUCTS USED
November 9, 2018 – CEMETERY CONSERVATORS FOR UNITED STANDARDS