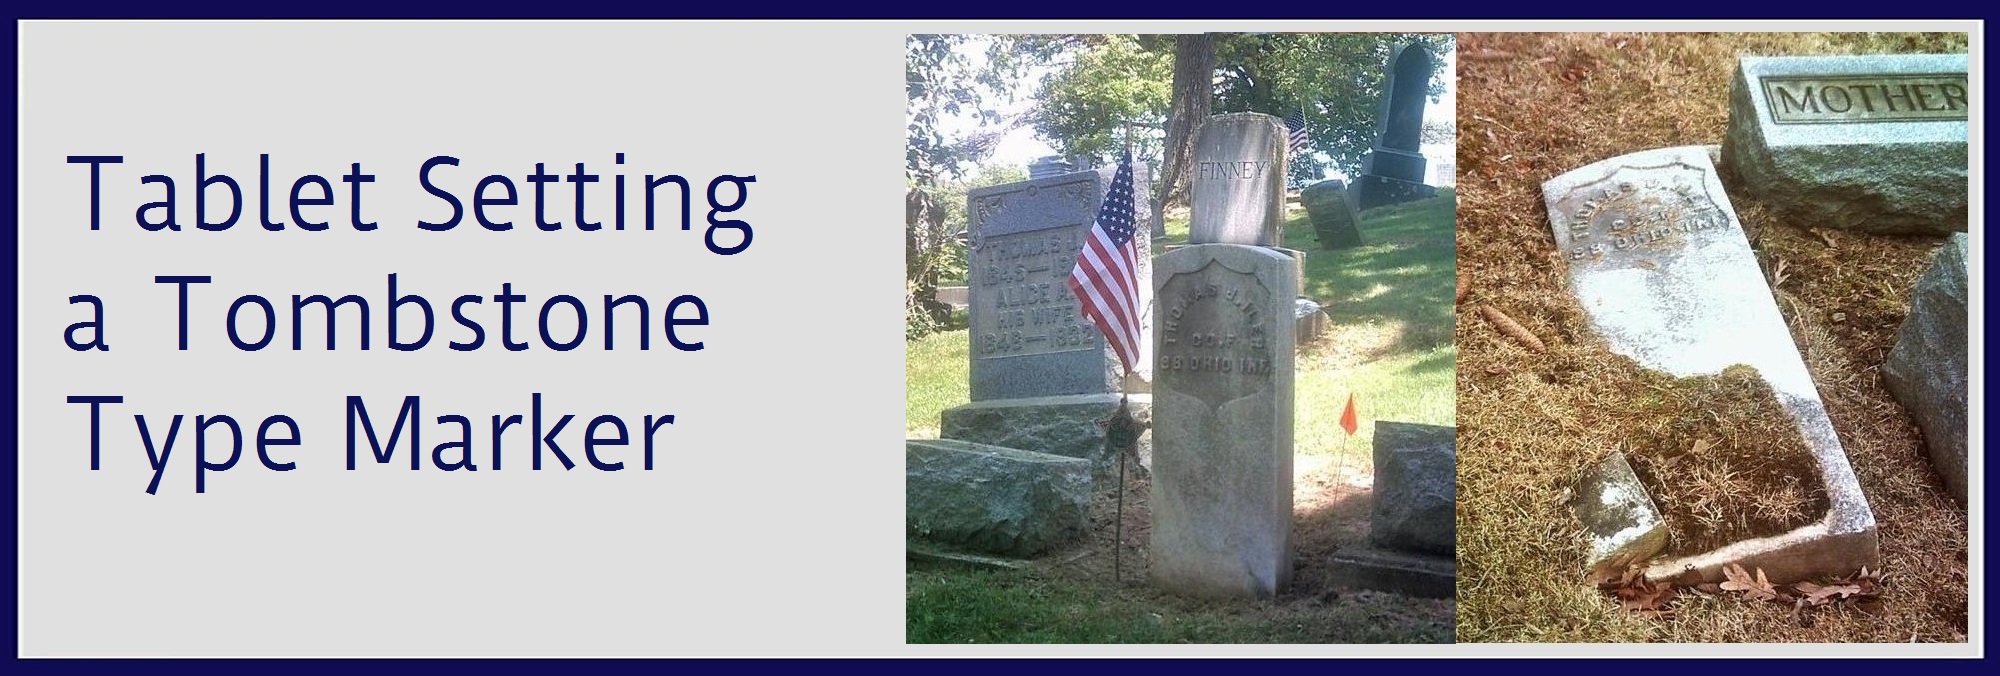
Tablet set, ground set, or tombstone set, whichever term you use, the principal is all the same. This type of preservation, restoration, or installation is the easiest one to perform. But many times one of the most common to deal with in a cemetery work situation. Flat tablet markers are one of the oldest styles of grave marker in the U.S. and were most prevalent to the 1840’s. This section below will explain how to safely set one of these stones. You may also visit our section called HARMFUL METHODS…Don’t Repair With, to better understand what not to do in this situation.
Tablet Sets
By CCUS member Mark Morton of Gravestone Guardians of Ohio
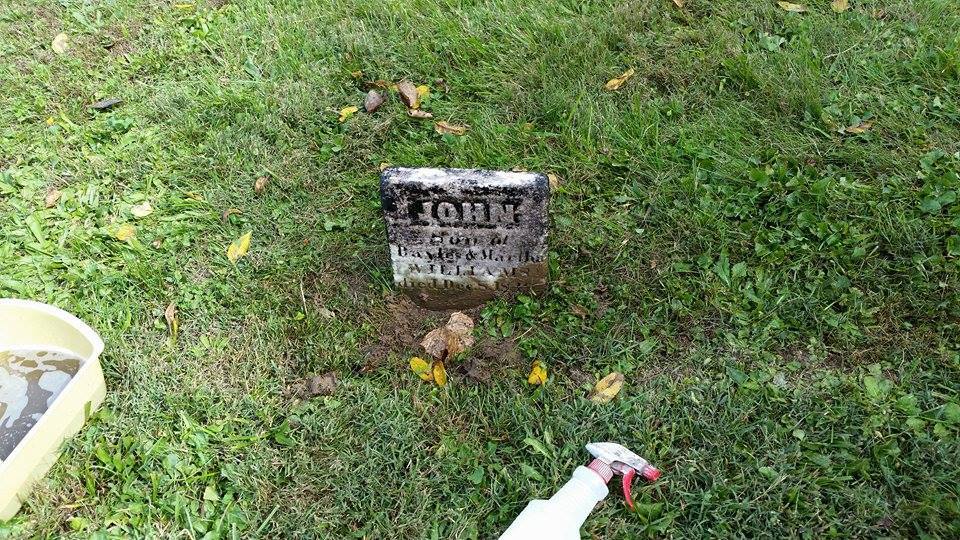
Resetting these tablet style markers is usually necessary because over time they have begun to lean or sink due to ground movement.
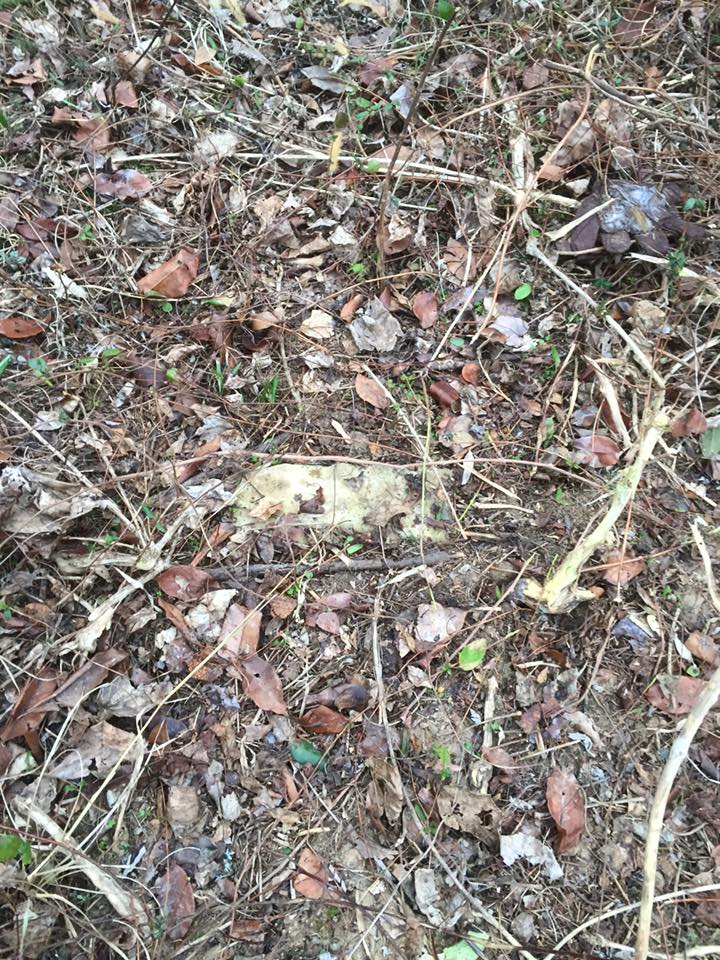
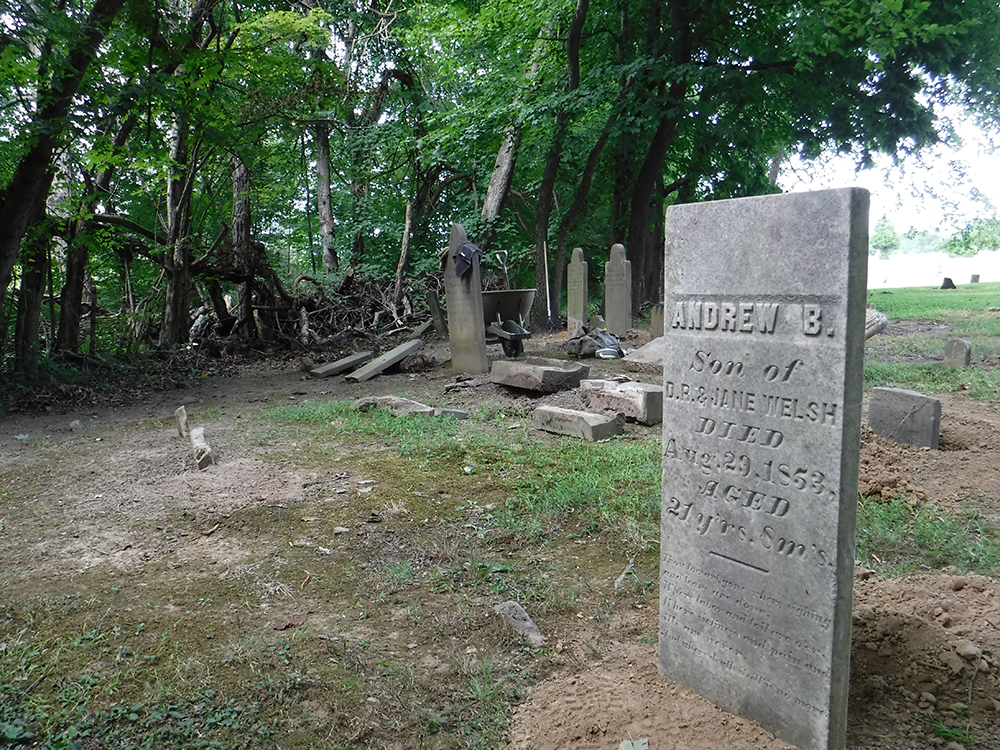
Above is a prime example of a small tablet marker sinking straight down into the ground.
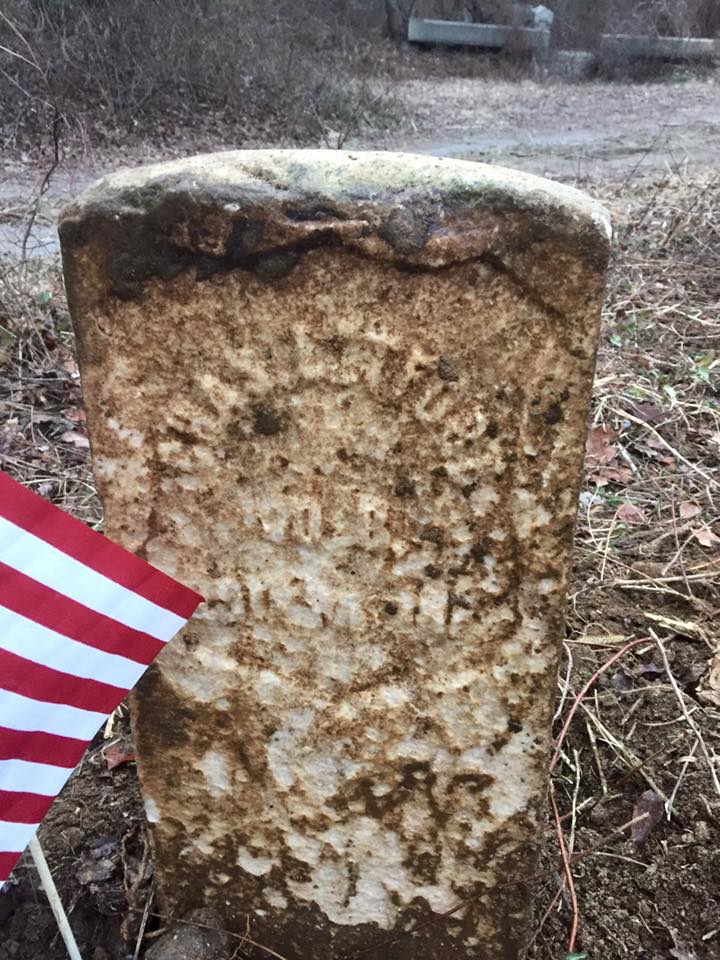
As odd as it may seem for a stone to sink straight down, it is quite common. And this one has had 168 years to do just that. Now that it has been reset, you can really see the degree to which it sank.
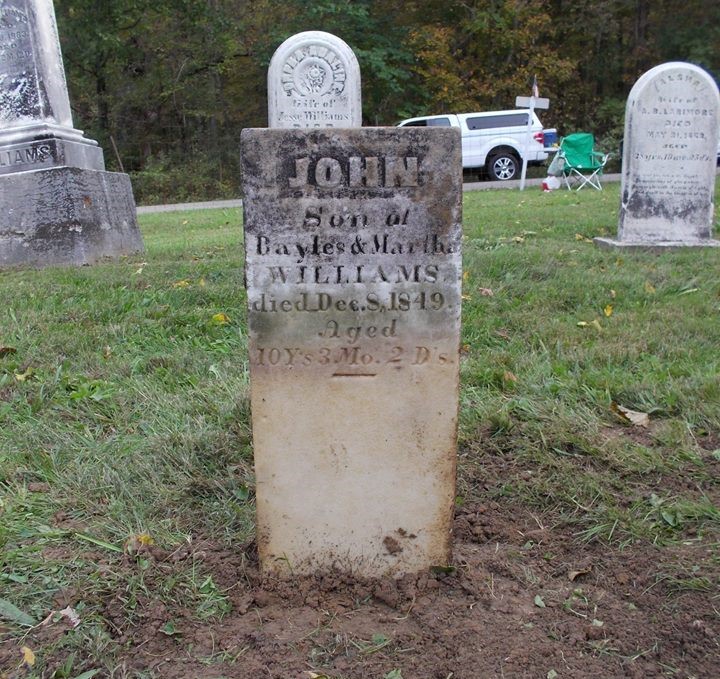
The rule of thumb for setting the typical standard tablet is commonly known as the rule of 1/3’s. This is accomplished by measuring the stone’s overall length after it has been excavated and freed from the soil. The goal is to calculate this measurement in 1/3’s and rebury it to the bottom 1/3. Typically this should leave a generous amount of space below the carver’s cut-line below the inscription as in this case.
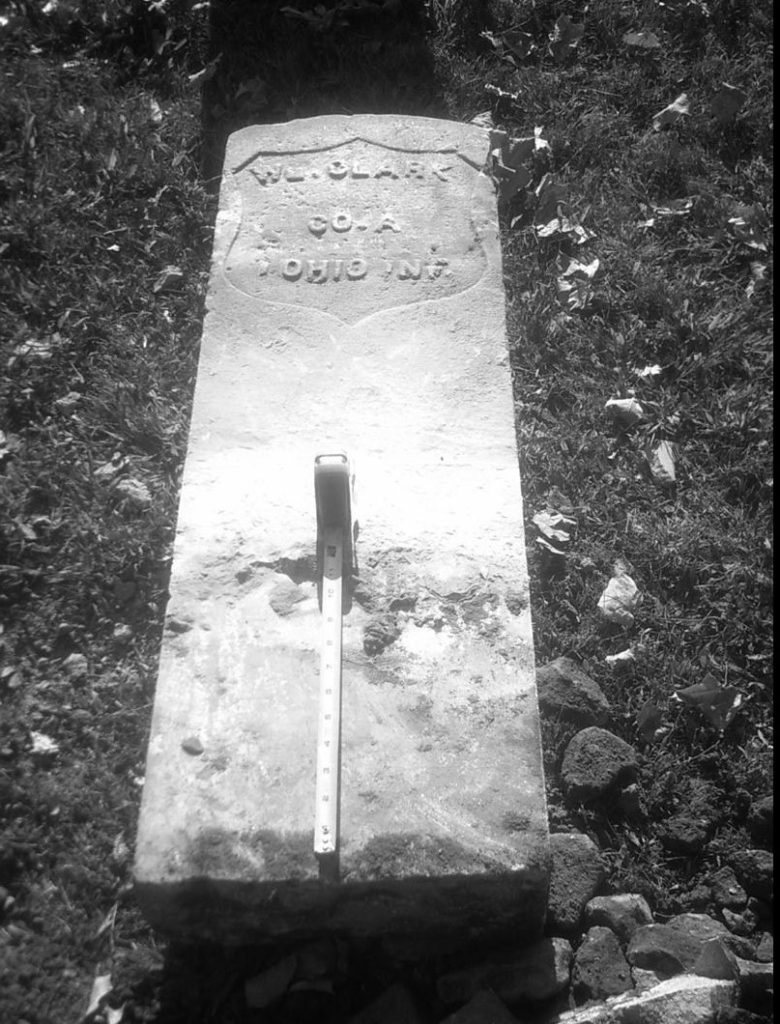
This early 20th century white marble govt. issue military maker, almost completely disappeared. How clean it may become is yet to be determined. Noticeable scalloping has begun to take place just below the bottom of the carved shield portion of this stone. This is most likely due to a combination of the stones natural makeup and the effects of being below ground for many years.
The Steps for Resetting a Tablet Marker
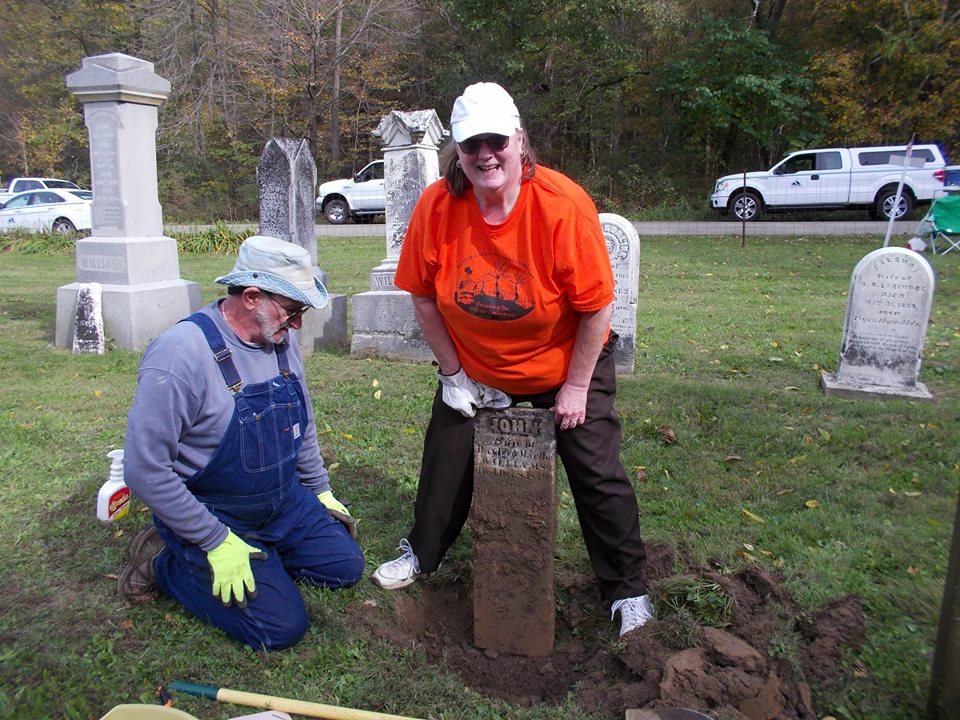
Care should be taken when freeing the stone. Dig and shovel carefully around the stone ensuring you don’t hit and damage the stone with your tools. It is better to take your time and end up with a bigger hole than you need, than to damage what you are working on.
It is always helpful to have a tarp laid out to pile your dirt on. This keeps your work area neat and allows you to use all the soil that has been removed.
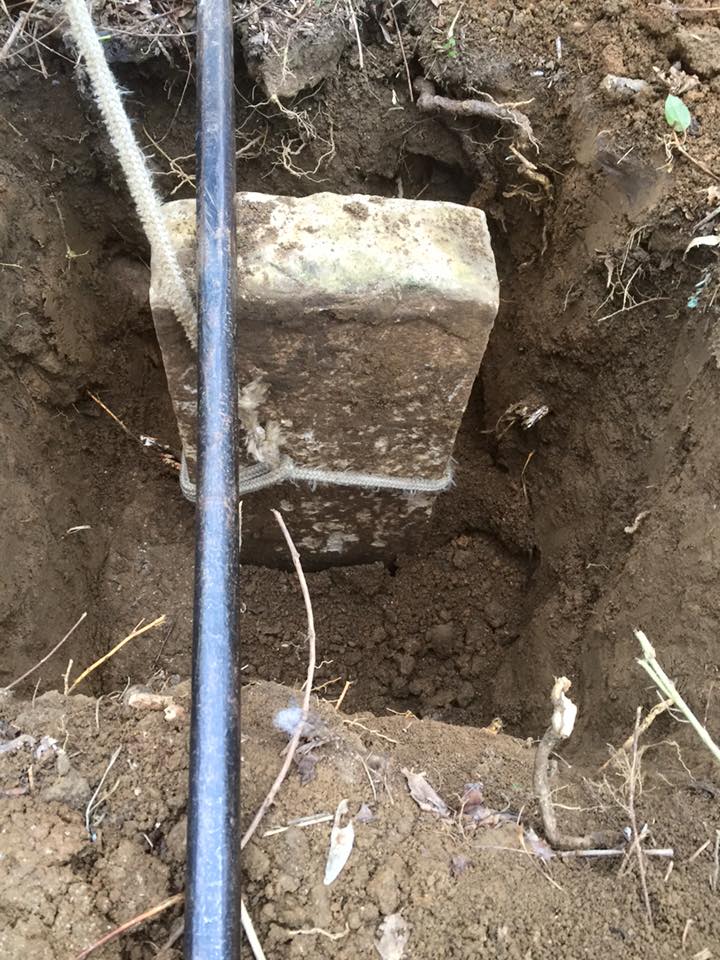
Lifting the stone out of the original hole can be done several different ways. This will depend on the size, weight, and fragility of the stone, and depend on who and how many people are there to help you.
The strap and hoist method is the safest and most supportive for the stone. As seen in the video below. This method will require a 1 ton hoist and a tripod or gantry to attach it to.
Again, this step and the equipment needed will depend on the size and weight of the stone.
Some tablet stones can be quite tall and heavy and require extra care and assistance for safety sake as well as ensuring no damage occurs. The larger the tablet, the more support is required.
Once you have removed the stone and secured it and your equipment safely, you can begin work on the new hole. You first have to determine the size and depth of this hole. This takes us back to the rule of 1/3’s and measuring the stone to find out what that figure is.
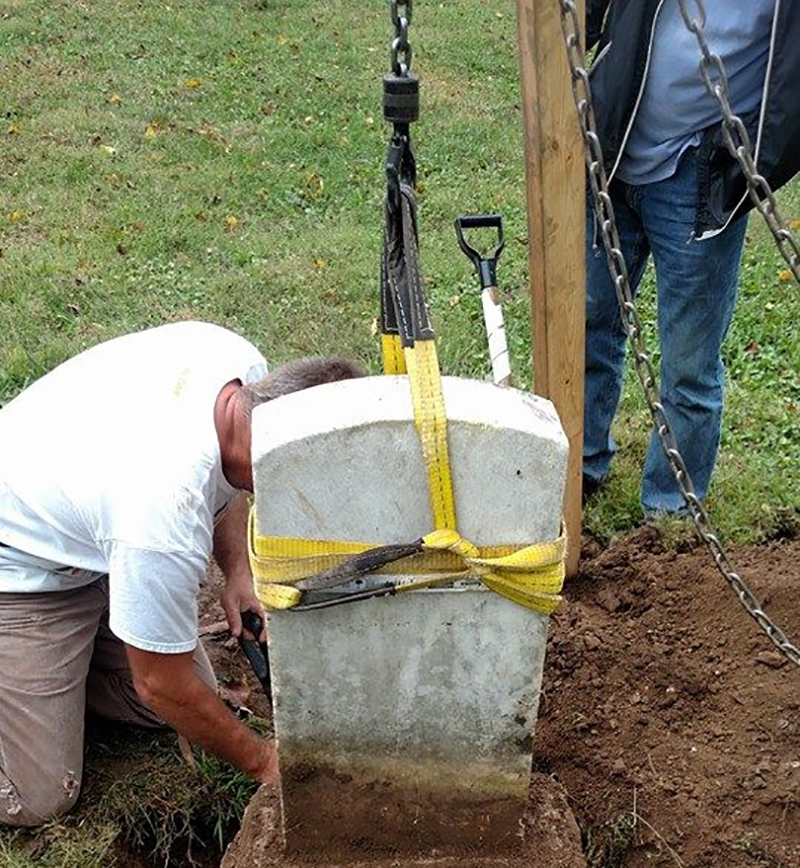
Military markers such as this one, can have a variation to this rule. Military cemeteries have a specific measurement from top center of stone to ground level. This rule is a fairly standard measurement set forth by the VA and closely mimics the rule of 1/3’s.
VA height for upright marble and granite markers as required in national military cemeteries…between 24 and 26 inches from top center crown of marker to ground. The VA sets markers at 26 inches to allow for 2 inches of eventual settling.
You will want to check your desired row alignment and begin to square the hole to accommodate the stone. Dig it an extra 4 inches deep to leave room for a layer of crushed rock or sharp gravel at the bottom.
Tablet type tombstones are set with tamped gravel in a square hole. Nothing else is required. Concrete is never used because it will only serve to damage the stone, interrupt natural water flow, and solve nothing.
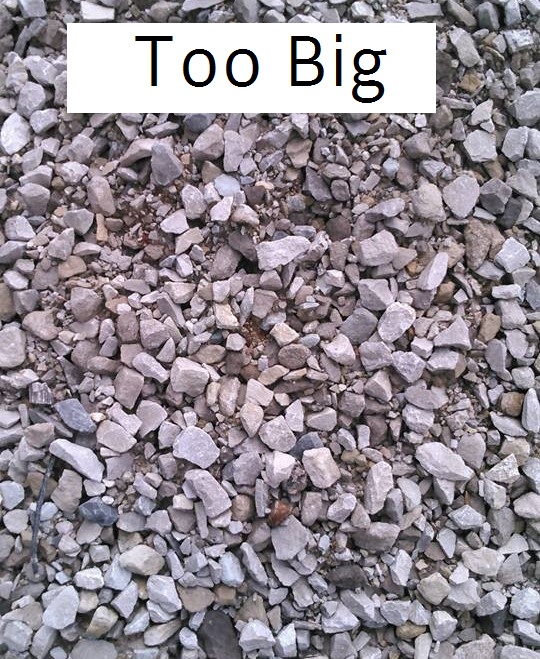
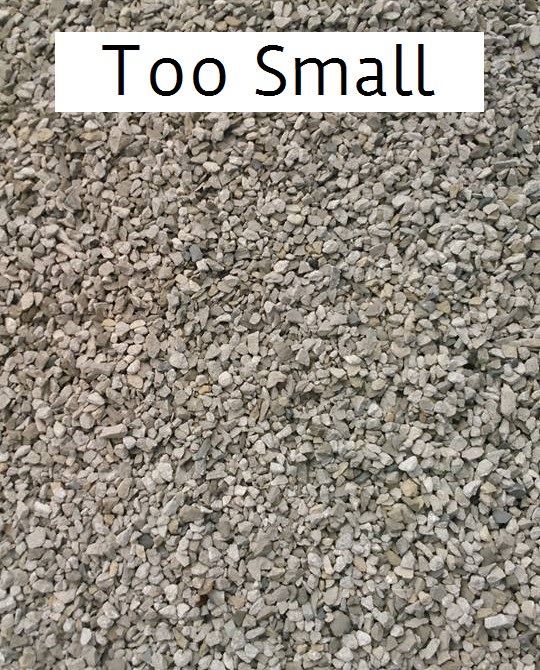
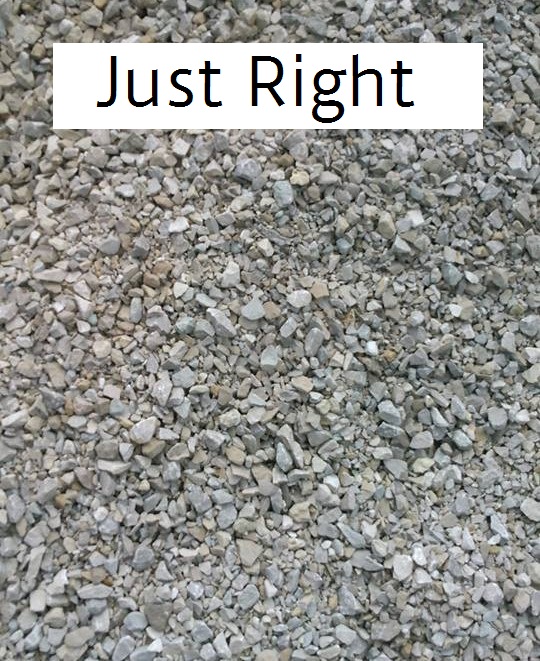
The type of rock used should be thumb sized and smaller and sharp, not round. Rounded or tumbled gravel or rock doesn’t pack well and may allow the marker to move. There are many terms for different types of gravel. G-57 is a common term across the Midwest for gravel of this size. Slag or crushed limestone is the preferred gravel used by the VA and the preferred type by many preservationists. A load of this type ranges in size from thumb size to pea gravel size. It’s generally cheaper and has great compaction. You can never go wrong with too much gravel.
Tamp the dirt in the bottom of the hole, then add your gravel and tamp it also.
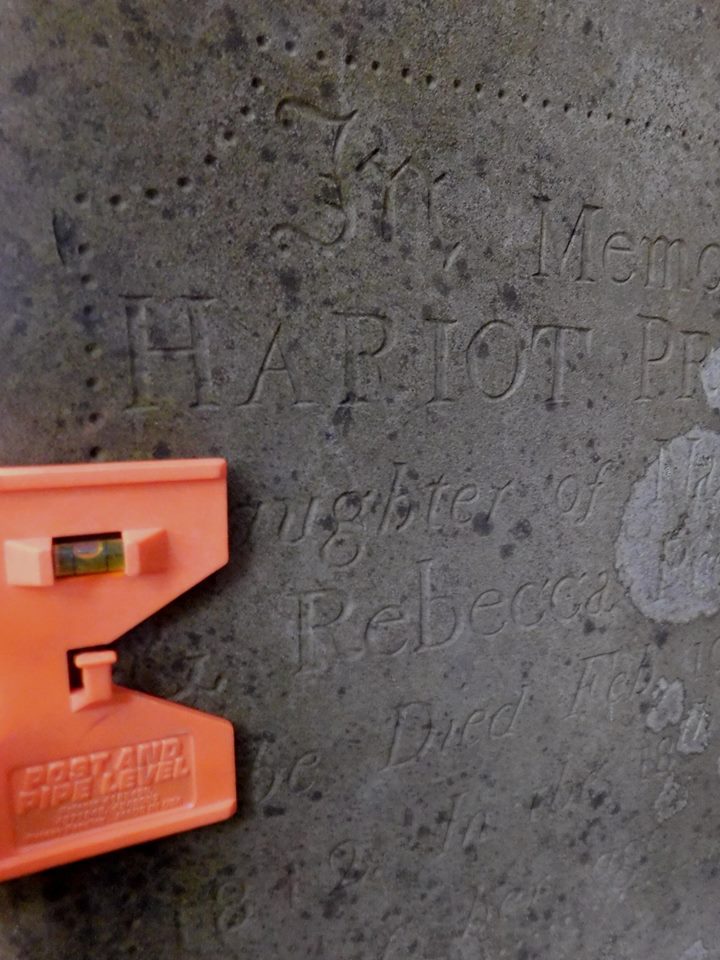
Now you are ready to place the stone in the hole. When this is done you will want to check your desired row alignment and begin to level the stone. A post level is the best tool for this because it will easily allow you to check square-ness in both directions at once. You want to be both plumb and level.
Add gravel in layers. As the old saying goes…add a little gravel, tamp a lot. Use wooden objects to tamp with, metal tampers chip & scars the stone. 2 X 4’s work very well. Layering in sand with your layers of gravel will also help with drainage.
Now you are ready to add the top layer of soil or sod and call this project done.
RECOMMENDED EQUIPMENT
Shovels…Tarp…Small digging tools…2 X 4’s for tamping…Levels or post level…1 Ton Hoist…Tripod or gantry system…Nylon straps…Work gloves…Safety glasses…Extra misc. wooden blocks…Gravel…Sand…
January 3, 2017 – CEMETERY CONSERVATORS FOR UNITED STANDARDS