Cleaning Basics

Cleaning tombstones and monuments has become quite popular among many individuals and groups. Some groups do it as part of reading cemeteries to gather historical documentation or as a way to beautify a cemetery. Others are individual descendants doing much the same things. And others take on tombstone cleaning for things like Eagle Scout projects. The following are the best and easiest ways to accomplish this in the most do no harm manner available at this time. You will find more information on harmful cleaning under HARMFUL METHODS…Don’t clean with. Make sure your method is not a harmful one. For your safety, please always make sure the tombstone or monument you are working with is sound and doesn’t present a danger of falling. And for the sake of the stone, please check for sugaring and delamination so you don’t inadvertently damage it further or permanently.

The following is a great tutorial on good safe cleaning instruction and habits that covers the gamut of cleaning most natural substances, with a focus on biological growths. We feel this is a great place to start. More on other cleaning methods and products for other cleaning issues will be addressed below this article.

HOW TO PROPERLY CLEAN HEADSTONES AND MARKERS

By CCUS member Susan Dunham of Maine Gravesite Maintenance

Most of us have visited cemeteries with headstones and markers covered with environmental grime and biological growth such as moss, lichens and mold. The grime and dirt can be removed with a proper cleaning, which will avoid causing any harm to the stone. Even though the markers are made of stone, most old markers are incredibly fragile. They suffer from “invisible’ stress cracks, delaminating layers of stone, and other age related issues.

Anyone desiring to clean the headstones and markers in a cemetery should get permission from a descendant, the sexton, cemetery superintendent or the town, in that order. If unsure who to ask, go to your town cemetery keeper and inquire.  It is not acceptable to take it upon yourself to clean the headstones without permission, without learning the correct methods or not using approved materials. You may however, clean your own family members’ stones.  The standard that Professional Cemetery Preservationists and Stone Conservators work on is “Do No Harm”, and it is imperative that you perform your work to the same “Do No Harm” standard.   

Every time a marker is cleaned, minute particles are removed from the surface of the stone. It can be harmful to clean them too often. Most markers in cemeteries are made of limestone, sandstone, slate, marble, granite, or in some cases concrete.  However, each marker’s condition is different and you should base your cleaning on the condition of that stone. Cleaning headstones helps to preserve them and it should never be your intent to make them look new again, just clean.

We, Cemetery Conservators for United Standards, have established and follow standards, precautions, procedures, and have listed materials that we use for cleaning cemetery headstones and markers. Be sure to read this information completely and understand the proper procedure before proceeding to clean stones in a cemetery.

PRECAUTIONS

  • Ensure the stone is stable, secure, level and that all sections are securely attached to each other. Also check that the stone is not in danger of falling if you put pressure on it. Your safety is of the utmost importance.
  • If the weather is hot and the stone surface is hot to the bare hand, do not put cool water on it. It may cause stress cracks in the stone. Cover the stone to cool it or let the water warm in the sun before using it.
  • Do not clean a stone if there is any chance of freezing temperatures. Water will get into cracks and freeze. Water expands when frozen and may crack the stone.
  • Do not attempt to clean a broken headstone.
  • Make sure you have enough water to thoroughly clean and then rinse the stone several times. Leave no residue from the cleaning agent on the stone as it could cause permanent streaking.
  • NEVER use household cleaners, bleach, metal tools, scouring pads, wire brushes, power tools, pressure washers or nyalox brushes. A newer product called Wet and Forget has not been thoroughly tested, and this is not a product we can recommend.

INSPECTION

Check for delamination of the stone, this is where layers of the stone begin to separate. Lightly tap on the stone with your knuckle or other soft object. If you hear a ‘hollow’ sound, the stone is probably delaminating. Do not attempt to clean. This should be left to a professional stone conservator or preservationist.

  • Check for stress cracks. This is an easy check. Thoroughly wet the stone with water. Observe it while it is drying. Stress cracks will show up as wet ‘streaks’ because the water has entered the crack and will take longer to dry than the surface water. If the stress cracks are wide or severe, again leave this stone to the professionals.
  • Check for loose sections in the marker. If it needs to be secured, leveled or reset stop. This is a job for a professionals. Always err on the side of safety.
  • Check to see if biological growth has cracked the stone. The growth must be carefully removed and the stone repaired before cleaning. Material at the cracked edges is very fragile and will chip off even with gentle cleaning.

BASIC CLEANING PROCEDURE

  • Soak the stone with water and wait a few minutes. Gently remove loose materials from the surface. Once saturated, the lichens and moss on the stone will loosen and can be removed easily with a plastic scraper or wooden spatula. This helps remove the big particles so you will not be rubbing them back into the stone. Rinse thoroughly.
  • Clean the wet stone with a wet brush by making random circular motion, and rinsing frequently to remove dirt and biological growth. Always be as gentle as possible.
  • Keep both the brush and the stone wet at all times while cleaning. Be sure to clean the entire stone. Normally, clean water and soft scrubbing will remove the dirt and grime.  If not, use one of the recommended cleaning agents from the materials’ list (see further instruction below). Be sure to rinse often and thoroughly.

SPECIAL CONSIDERATIONS

REMOVAL OF PLANT GROWTH

  • If plants, especially members of the Ivy family are attached to the stone, do not pull them off. Cut the plants at the base and let them die. If you can, cut the plants about every six inches. This will decrease the amount of time it takes them to die. You may not be able to clean the stone at this time and have to wait until the plant is dead.  When the plant has died, wet the stone and gently remove the plant from the surface.  Proceed with a basic cleaning.


REMOVAL OF BIOLOGICAL STAINING

  • Lichens, moss, mold and other biological growth, especially bird droppings can cause severe damage and staining to headstones and markers. We use D/2, a non-toxic biological, that kills and deters biological growth.
  • Soak the stone and while it is wet, spray the stone with D/2.
  • Wait 10-15 minutes and using your brushes scrub the D/2 into the stone, with special emphasis on areas that have been stained. Rinse thoroughly. You may have to apply more D/2 to certain areas.
  • Even if the stain is not removed after D/2 has set on the stone, been scrubbed in and rinsed, have faith it will continue to work for weeks, working its way into the pores killing biological growth that may have grown inside the stone.  Don’t be surprised if certain areas of the stone change color. That is the D/2 working, this is normal and the stone will return to its usual color in a few days. 

For further instruction you can view the following videos on proper cleaning: 

RECOMMENDED EQUIPMENT AND MATERIALS

Safety glasses and protective gloves.

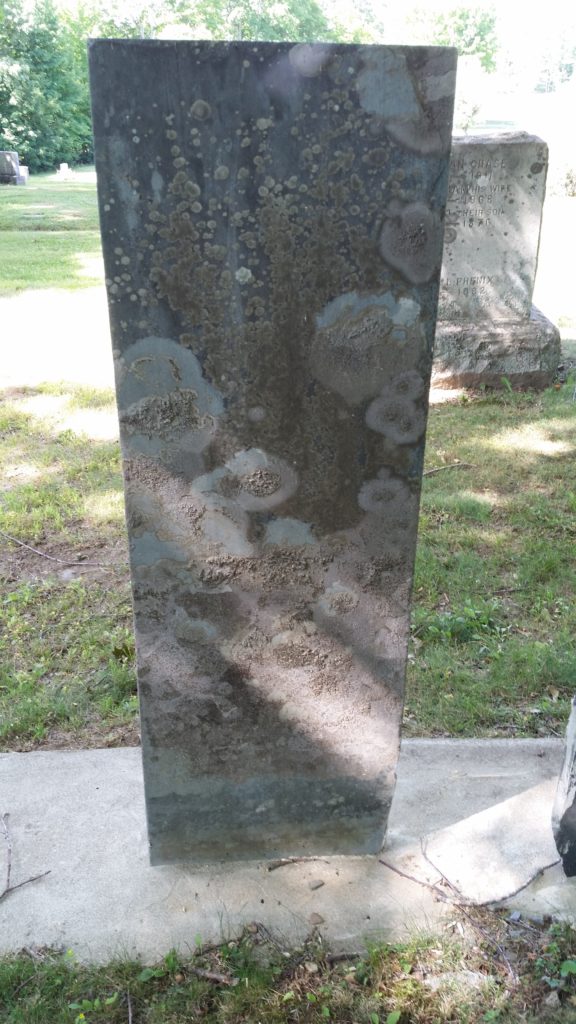
Knee pads and boots. Old markers may have broken glass around the base.

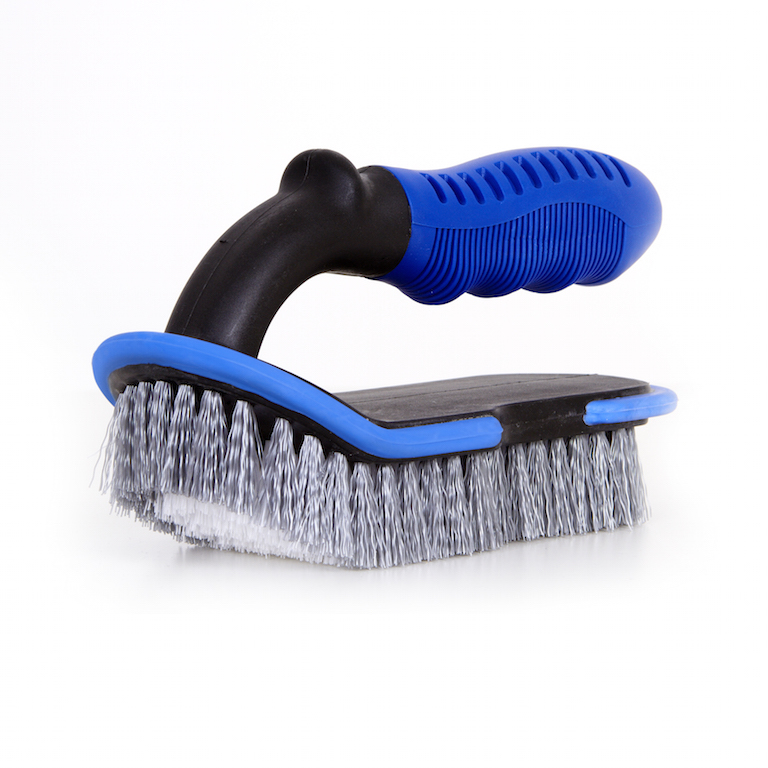
Natural or plastic soft bristle brushes of various shapes and sizes & plastic grout brushes.

Wooden scrapers, craft sticks, tongue depressors, and wooden skewers,

Plastic scrapers, various sizes.

Buckets for holding your supplies and water.

Quart size plastic spray bottles.

1 to 2 gallon garden type pump sprayer filled with clean water.

A Small can of compressed air or mini leaf blower.

Rags and old towels.

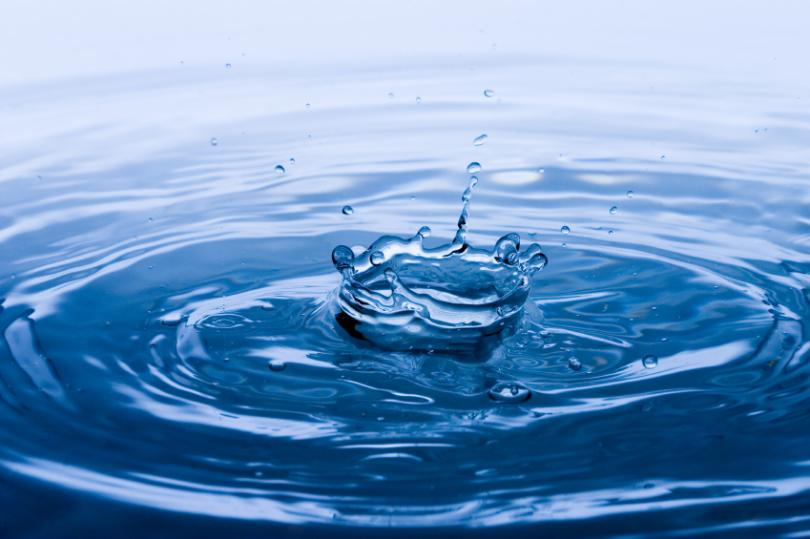
Gallons and gallons of water. Old clean plastic milk bottles work great for transporting water to the markers.

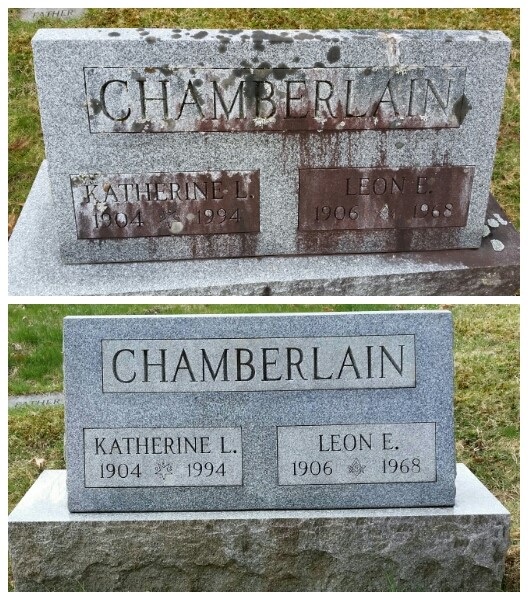
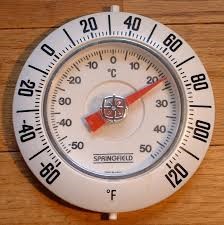
D/2 biological solution. It works best at 45 degrees and above. Use undiluted for best results. (Our group recommends D/2 as the first choice in cleaning headstones and markers)

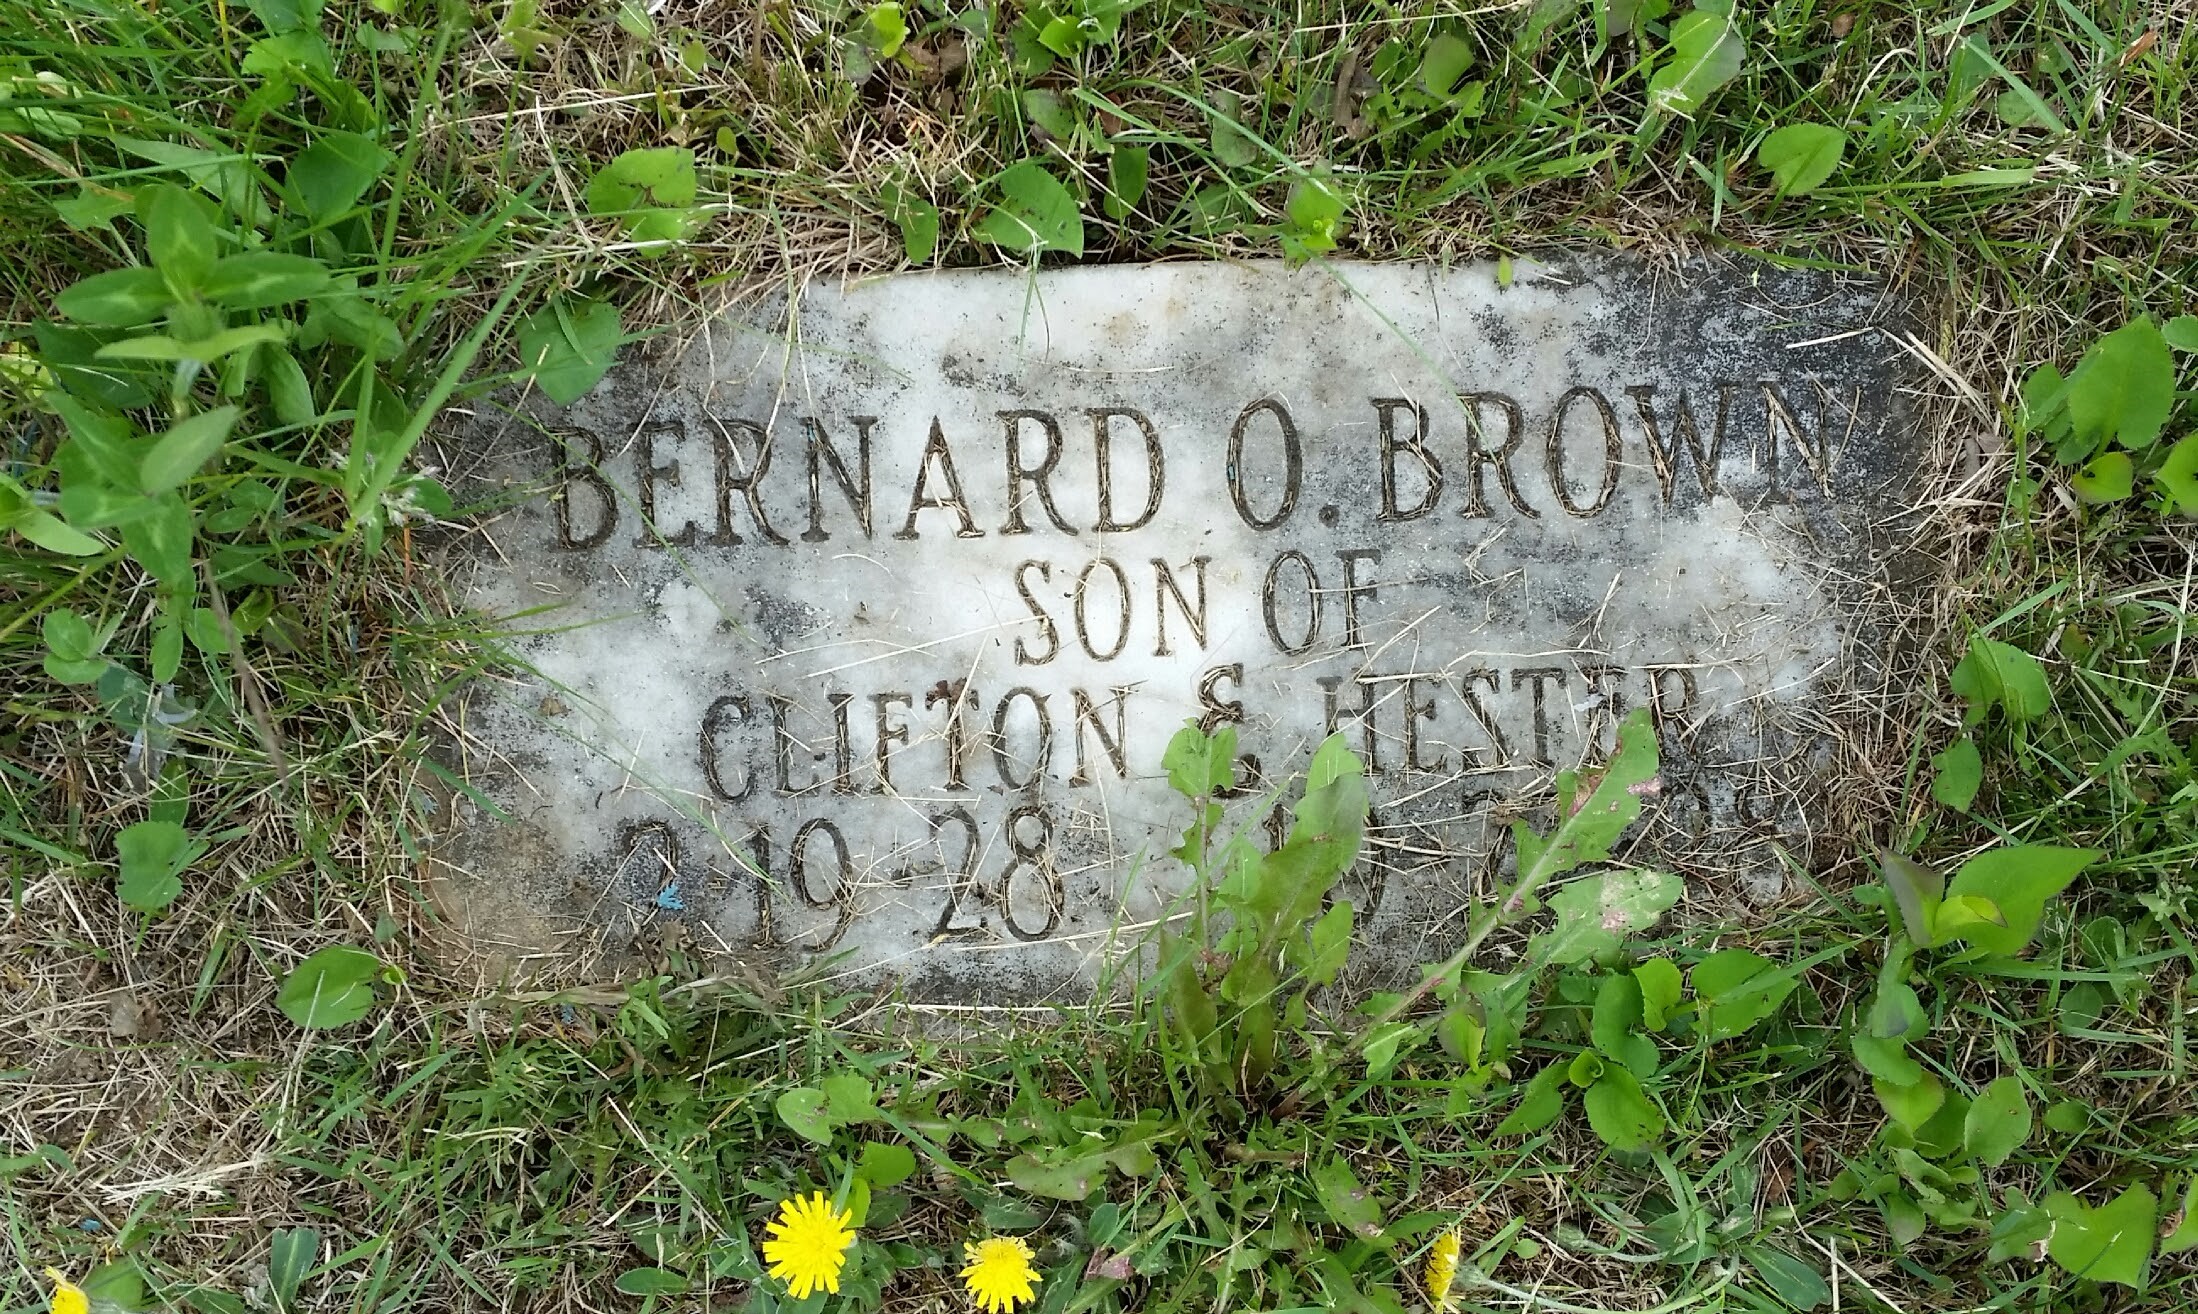
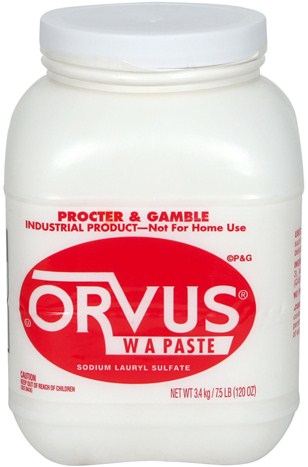
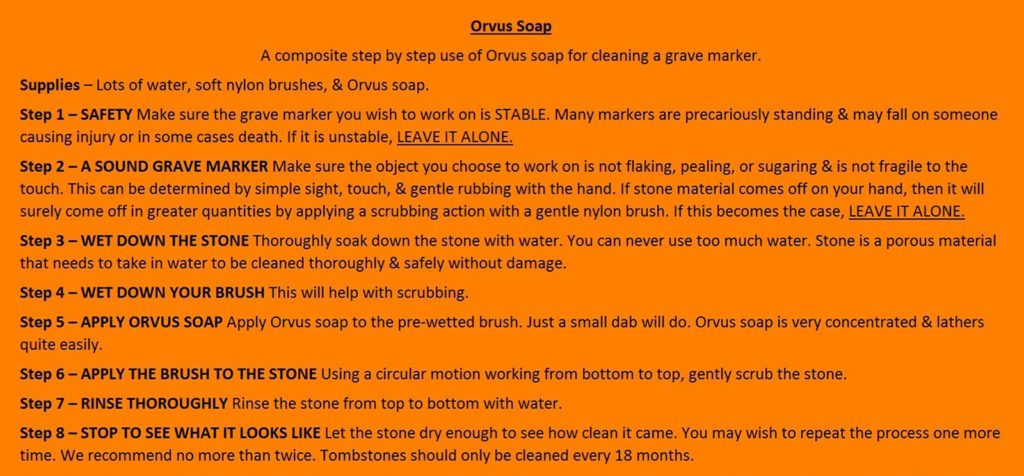
Orvus non-ionic cleaner can be used to remove heavy environmental deposits, grime and bird droppings, if water alone doesn’t remove the grime.

Enviro Klean, Biowash, Modec MDF-500 and Revive are also approved biological cleaners.

October 7, 2016 – CEMETERY CONSERVATORS FOR UNITED STANDARDS

These are the other approved safe biological cleaners mentioned above. We hope to be able to add more information on them as time goes by.

The reason D/2 biological seems to be in the spotlight more than these other biocides is simple. It has the most extensive testing, it is the most well-known of these cleaners, it is the most widely used, and it is the most readily available.

Further Do No Harm Cleaning Methods…The Most Basic

By CCUS members Mark Morton and Larry Betts

When it comes to do no harm cleaning methods, less is more. The least invasive and gentlest methods are always best. The goal is to clean the stone for either a repair purpose, or to make it legible for documentation. Cleaning should never be about making everything looking brand new. Cleaning should have a purpose and not completely detract from the character of the cemetery.

Some very simple cleaning procedures can be achieved with just a dry nylon brush or nylon brush with water. This of course is after you have determined all the personal and stone safety issues that are addressed above, and have determined what it is you are trying to clean of the particular grave marker. This will chiefly depend on the condition of the engraving and the stubbornness of what is obscuring it.

Mud, dirt, and other dry or easily removable substances may be removed by gently using a dry nylon brush. Or add some water so you can clean the stone better and be able to rinse away the loosened debris.

Orvus…A Gentle All-Around Cleaner

Orvus is a sodium lauryl sulfate. It is completely biodegradable, non-ionic, and does not contain phosphates. Sodium lauryl sulfate is a “surfactant” – it removes stains and residues that are oily, so it’s found as an ingredient in lots of surface cleaners. It is versatile stuff and is used to clean vintage textiles, linens, needlework, and quilts. All things very prone to delicate dies and fibers that must be treated very gently. Orvus paste is very concentrated so it does not take much to clean with.

There are several ways to use Orvus Paste, and you can’t really go wrong with any of them. They are simply a matter of preference.

Below is a simple step by step instruction on using Orvus, water, and a nylon brush.

The Bucket And Water Method

Another way that many prefer and find very easy is with a bucket of water and a little Orvus Past. Fill any given bucket up about 2/3’s with water and add a couple tsps. of Orvus into the water. Mix around in the water with your hand until it dissolves, and now you have a bucket of soapy like water. Use with nylon brush until water is dirty, and mix a new bucket. This method also helps you keep you brush much cleaner than the other methods because you can easily rinse your brush out in the bucket.

With any of these methods you will need a nylon brush and a generous amount of water for both scrubbing and rinsing. A 2 to 5 gallon pump sprayer works well for rinsing. You can usually find them for between $10 and $20 at most any DIY type store. Finding or brining your own water supply will be hardest thing to figure out.

The Spray-Bottle Method

Rather than apply Orvus directly on a brush or use it out of a bucket, some prefer to premix Orvus and water and bring it with them gallon jugs. Mix the Orvus and water like above in the bucket method, but pour it into transportable containers to refill your hand sprayer with.

D/2 Biological Solution

A safe well tested cleaner to kill biological growth

There are a variety of ways to use D/2. Here are two methods that come straight from the manufacturer.

The Immediate Result Method

Apply D/2 Biological Solution with a brush, roller, hand pump sprayer (garden style pump sprayer) or low pressure power sprayer.

  1. Allow undiluted D/2 to remain on the surface 10-15 minutes.
  2. Apply additional D/2 as necessary to maintain a wet surface.
  3. Scrub with soft nylon or natural bristle brush. DO NOT USE METAL BRUSH.
  4. Lightly mist with water and continue scrubbing.
  5. Rinse thoroughly with clean, potable water.
  6. Reapply if rain occurs within 12 hours of application.


The No Scrub/No Rinse Method

  1. Using a sprayer (pump-up, low pressure, or other,) wet the entire surface with D/2.
  2. Allow to air dry.

D/2 works with the elements and results occur within one week to one month, depending on severity of soil. Reapply if rain occurs within 12 hours of application.

A Variety Of Methods Found By Others

Conservators in the field as well as others, have found additional D/2 cleaning methods based on those recommended by the manufacturer. You may find many of these methods could save you time and money. The following three methods are most preferred by conservators and those who have scrubbed a number of markers before.

Method 1

  1. Dry brush and scrape the biological growth off first
  2. Wet down the marker with water and scrub it thoroughly with water
  3. Rinse off the marker thoroughly with water washing away the biological debris
  4. Thoroughly mist coat the stone with D/2 and walk away

Method 2

  1. Wet down the marker thoroughly and brush and scrape the biological growth off
  2. Wet down the marker with water and scrub it thoroughly with water
  3. Rinse off the marker thoroughly with water washing away the biological debris
  4. Thoroughly mist coat the stone with D/2 and walk away

Method 3

  1. Dry brush and scrape the biological growth off or Wet down the marker thoroughly and brush and scrape the biological growth off
  2. Wet down the marker with water and scrub it thoroughly with Orvus Paste
  3. Rinse off the marker thoroughly with water washing away the biological debris
  4. Thoroughly mist coat the stone with D/2 and walk away


Whichever method you choose, or combination of methods, you cannot go wrong because D/2 is a proven safe product that involves no mixing. There is nothing you could make too strong or get wrong. 

From the Manufacturer…A Further Treatment and Maintenance Program

Add years to the life of your property. After initial treatment of substrate, a once-a-year light spraying will help maintain a clean, stain-free surface. NOTE: Heavy biological deposits can be loosened using a low pressure washer (600 psi), and may require repeat applications of D/2 to achieve complete cleaning after detachment. Alternatively, heavy growth can be detached by manual scraping using wooden or plastic tools immediately after application. In the event of excessive plant exposure, rinse all plants and water-in all planted ground areas contacted by D/2.

More to be added in the near future pertaining to other cleaning issues such as tree sap, bird droppings, industrial pollution, and paint due to vandalism.

December 23, 2017 – CEMETERY CONSERVATORS FOR UNITED STANDARDS